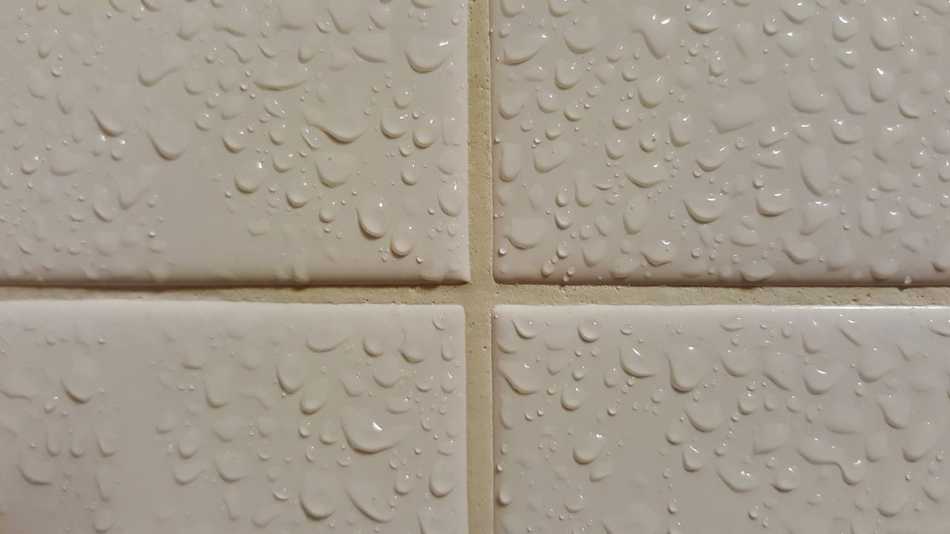
It is common to find that your grout is starting to fall apart, and they need repair or regrouting. This is because, as time passes by, they start to become porous and easily absorb liquids and other contaminants, thereby degrading and becoming ineffective.
In other instances, you can find that your grouts have started to crack, are falling apart, or have become prone to stains, thereby creating unsightly sight in a building. When this happens, action needs to be taken as soon as possible, including consideration for repairs and regrouting.
But can you regrout over old grout? You can regrout over old grout by applying the new grout over the top of the existing grout. To achieve this, you will need a grout removal to chip away the old grout at a deep enough level to add a second layer of grout that will stay in place after it dries.
One caveat you must keep into consideration while regrouting over old grout is the depth of the old grout. According to Donato Pompo MBA and a tile expert, you need at least 1/8″ depth before you start regrouting over old grout. Pompo also advises people to ensure that the original grout is clean before regrouting.
Do I have to remove all the old grout before regrouting?
Sometimes regrouting your old grouts is necessary, especially in situations where the old grout was improperly installed or has grown old and started to disintegrate your floors and walls. Luckily, it is possible to replace the old grout with a new one, and the process is simple enough for anyone to do it by themselves.
Now, if you are a newbie in grout repairs, and this is your first time dealing with regrouting, it is not hard to see questions such as whether you need to remove old grout before regrouting can linger in your mind. In this section, we are going to answer that question by going through the entire process of putting new grout over old grout.
For starters, you need to get the best grout option available, in our case, we are going to use epoxy grout for reference. Now the next phase involves the application of the new grout over the top of the existing grout. To do this, you will need a grout removal tool, which is a small tool with a sharp blade, which is capable of chipping away the old grout. You will also need a deeper understanding of grout and knowledge of how using pressure to correct existing and anticipated subsurface problems should influence your decisions.
Next, you will need to use the grout removal tool to chip out at least 2mm (millimeter) of the old grout. This process, although it does not require precision, requires you to work slowly while removing the top layer of the old grout to avoid damaging tiles. The goal of this step is to remove at least the minimum depth of the old grout. This, however, doesn’t mean that you have to remove all the old grout before proceeding to the next step.
After removing the old grout, you will now need a vacuum or a brush to remove the grout dust and other particles in the area you are trying to repair. This is because the area needs to be as clean as possible before proceeding to apply the new grout over the old one. Thus far, you don’t need to remove all your old grout before applying new grout. However, you will need to remove the top layer.
Now you can use the grout float to apply new grout the same way you would do when installing grout for the first time. The float is placed at a 45-degree angle during spreading, and you should ensure that you spread the grout evenly. If there is excess grout, consider using a wet sponge to remove it. Next, wait for the newly applied grout to cure before applying a sealant.
Yes, it is as easy as that, and the best part is, you don’t have to remove all your old grout when applying new grout during repairs. The process is also quite easy, and you can do it yourself.
Can you add a second layer of grout?
Grouting is a challenging material to work with, and even when installed by professionals, it may get damaged, stained, or cracked. This can lead to some wondering whether it is possible to apply a second layer of grout layer on top of an old existing layer.
Now, if you are considering adding a second layer of grout as a repair method, you should stop. While the assumption of such a possibility is tempting and seeing that walls are sometimes repaired by adding a new layer of cement on them, that is different with grouts.
For starters, grout that has lasted for more than 72 hours is fully cured. This means that applying new grout on top of a grout that is already cured cannot work because the new grout will not adhere.
Secondly, you cannot use a second layer of grout as a plaster. This is because, although many grouts are cement-based, they do not adhere to the surface the same way cement adheres to walls when used as plaster.
Another reason you should not apply a second layer of grout is that the new grout will shrink as it dries. This will create a larger gap, which will end up requiring more grout work to fix.
Also, the second layer of grout is not a permanent solution, and you will end up dealing with the same problem again. The grout will also break away after it cures, leaving you back where you started. The results are also not aesthetically pleasing, and the new layer will be thinner, making the older layer visible.
Therefore, you should avoid applying the second layer of grout over the grout, but instead regrout or seek professional advice on how to proceed.
Can you regrout over old grout to change the color?
It is understandable that you may want to change the color of your grouts, especially if your grout installation has lasted for years, resulting in color fading and stains. However, not many people understand what it takes to change the color, regrout, or if it is possible to regrout your old grout to change its color.
Luckily for homeowners with such questions, yes! It is possible to regrout over old grout to change the color. The process is simple, and you will need your new colored grout, and a grout removal tool, which is a small tool with a sharp blade, capable of chipping away the old grout.
Start by chipping away the topmost layer of the grout. The recommended depth of the incisions made on the old grout is at least 2 mm (millimeter). Ensure that the depth is even on all sides to avoid having to apply different amounts of new grout to different areas.
However, in situations where the depth of the grout is unknown, Donato Pompo MBA and a grout expert, advises people to apply grout over existing grout if there is enough depth to do so. If such advice is not followed, and you apply new grout over an area with a small depth, the new grout starts falling during the curing process.
After removing the old grout, you can now proceed with regrouting. You will need a grout float to spread your grout. The grout float is placed at a 45-degree angle during spreading and allows you to apply the new grout of your choice evenly on the surface.
The best part about changing color using regrouting is, your surface looks new after completing the work. When the grout cures, it also improves the aesthetics of the building and gives it a finished look.
How to remove old grout
Grout can become old, chipped, moldy, or just unsightly as they age, and it may be time to replace them or remove them completely. Here are the two methods you can use to remove the old grout in your house.
- Remove grout manually
You can opt to remove your grout using the old-fashioned way of using your hands and manual tools such as the triangular grout removal tool.
Start by applying protective tape to the edges of the tile and run it along with the grout. This will prevent you from bumping the tiles and damaging them, by creating a barrier. Once you have taped off the area, you can now start removing the grout.
Scrape the hardened grout, and chip away the topmost areas of grouts. This should be done repeatedly, and if you notice your tools are becoming dull, clump them in a vice and resharpen the tip to avoid the dull tools from damaging your tiles.
If you decide to use a 6d (2-inch) finishing nail to a short wood dowel as your go-to tool for grout removal, you will need to be extra careful not to damage the tiles. Start with creating a small pilot hole, about an inch from the end of the dowel, and then use the hammer to drive through the nail. Repeatedly use short, downward strokes to scratch out the old grout, until it is completely removed.
- Use power tool
Another method that you can remove your old grout is by use of a power tool. Some of the options available such as rotary tools and oscillating multi-tool are very efficient and can reduce the job, which normally takes days to just a few hours. I recommend an electric grout remover. Click here to see the current pricing on Amazon.
Unfortunately, in some instances, when power tools are used, they end up being too powerful and chew through tiles and grouts if the operators are not careful.
Start by fitting your power tool with blades made for tile grouting then turn the power tool on. The next step involves lightly applying it to the grout, whereby blades start removing the grout without a lot of pressure from you. For efficient usage of the power tools, ensure that you have angled the blades in a way that they can reach the grout hidden just behind the tile, working slowly and carefully to avoid damaging the tiles.
Repeat this process over and over until you have removed all the grout. After that, you can remove any remaining grout using manual methods of your choice.
Here is a table that I created using data from various DIY forums explaining the methods that others have used to remove old grout from tiles:
| How did you manage to remove grout from tiling before regrouting? | Percentage of Total Results |
|---|---|
| Using the Bosch multi tool (click to view on Amazon) works well for removing old grout. | 27% |
| You can use a grout rake to remove grout. | 18% |
| If there is grout on the face of the tile, use Lithofin Cement Residue Remover. | 9% |
| You can add grout bits to a Dremel tool for grout that is 1/16 or 1/8 inch thick. | 45% |
How deep to remove grout for regrouting?
Regrouting can be the only option to address problems arising from your old grout. This problem can include stains, cracking, falling out, and becoming porous, thereby allowing water to enter cracks and destroy your tiles.
Here is a video that shows how to regrout bathroom flooring:
However, before even starting to regrout, important questions such as the depth you will need to remove the old grouts to ensure that you do not damage them and end up causing more damage.
Well, it depends, but most professionals recommend that you chip away at least 2mm (millimeter) of the old grout evenly before applying a new layer. This thickness is good enough to prevent grout from separating and, hence increasing its longevity.
Another argument is you should remove grout halfway, to allow effective regrouting. This method also allows the new grout to bind to the original grout and to the edges of tiles without reducing its longevity.
How do I recolor grout?
Unattractive grout is a problem that most homeowners struggle with. Luckily, the problem can be solved quickly with repairs and recoloring. You can change the look of your grout to a color that best suits you.
There are two ways you can achieve changing the color of your grouts, recoloring and regrouting using a different colored grout. In this section, we will look at recoloring.
The easiest method you can use to recolor your grout is by using a grout pen/dye. This method allows you to recolor the grout that is already there without removing it. One thing to note before recoloring using the method is you need to make sure that the grout is in good condition. You should also check for areas where grout is crumbling before you start to dye it.
To avoid getting the dye on tiles, it is recommended that you use a tape measure. However, if you have glossy tiles, the tapes are not necessary since they come off easily. The matte finish on the other hand can absorb the ink, damaging your tiles.
To apply the ink or dye, use a small brush and follow manufacturers’ instructions for effective application. Grout pens are easy to use, and you will only need to draw over the grout. However, you should avoid pressing the pen hard to avoid it breaking and spilling on the tiles.